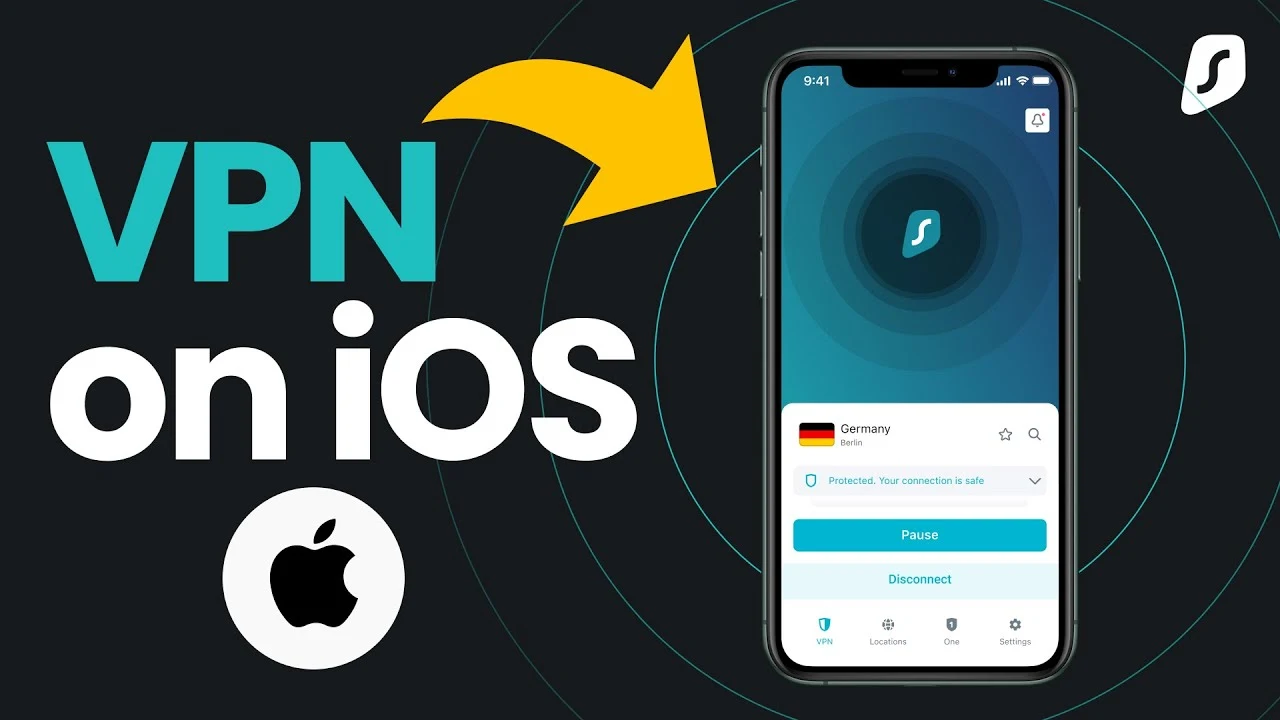
VPNs have grown to be very important nowadays for maintaining security and privacy online. A good number of people may not know that, too, an iPhone can be configured with a built-in VPN. Setting up a VPN on an iPhone can be performed quite easily without the need for any separate app. We will look into how this works and how to go about using it.

What is a VPN, and why does one need it?
VPN is a technology that protects your internet connection by hiding your location. That means:
You remain safe while using public Wi-Fi.
Your online activities get encrypted.
You can access geo-blocked content (such as different countries' content on Netflix).
Hackers can never get their hands on your data.
Where Do I Find the Built-in VPN on the iPhone?
The absence of a standalone application does not mean that an iPhone cannot configure VPN services. It can be configured manually. The following steps will show you how:
1. Go to Settings
Open the iPhone Settings.
2. General > VPN & Device Management
The VPN settings should be available here.
3. Click Add VPN Configuration
After clicking here, a form will appear for entering VPN server information.
4. Fill in the required information
Choose Type: IKEv2, IPSec, or L2TP (as per your service provider's information).
Fill in all other information like Server, Remote ID, Username, and Password, etc.
5. Press Done and Connect
If all the information given is correct, you can now switch on the VPN.

Which Service to Actually Sign Up With?
If you want, you can go about manually setting all of these up using services like NordVPN, ExpressVPN, or OpenVPN. They usually provide the required settings after you sign in to your account.
The built-in VPN on the iPhone, when turned on, allows for secure and private browsing on the Internet. Such features help in protecting a user's data and online freedom. So, turn on your built-in VPN, and stay safe!
Follow our WhatsApp channel for the latest news and updates

